📱 Install the App
Download and install the official company app on your device. Make sure you have the latest version. For detailed instructions, visit the First Steps Guide.
📄 Open Load Drivers
- Go to the Home Menu: Open the app and make sure you are on the Home screen.
- Open Load Drivers: From the Home Menu, select Load Drivers to enter the Drivers Module.

📸 Take Photo Documents
Use this option to take and upload photos of shipment documents, such as CMR or delivery notes.

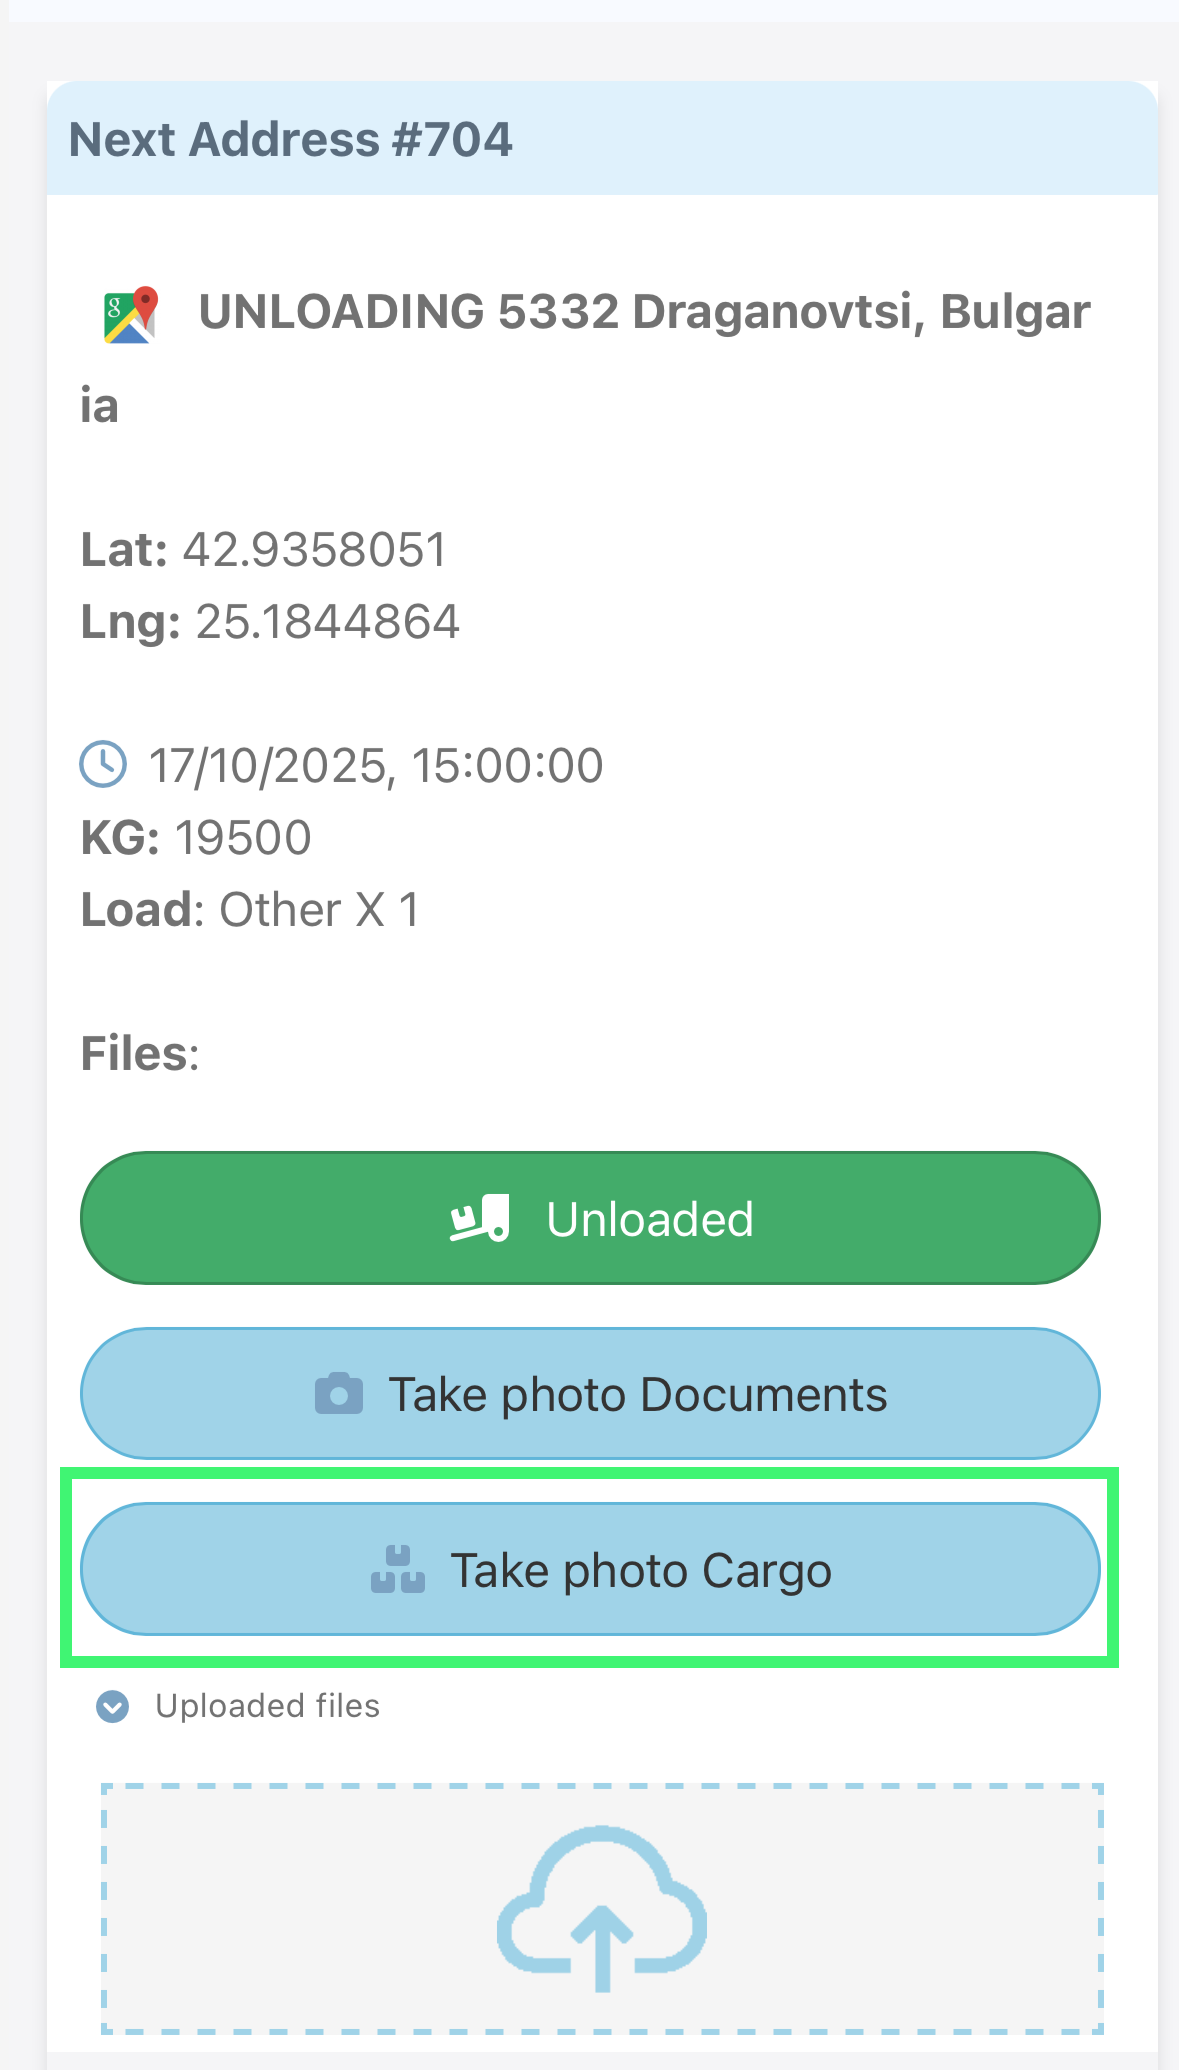
📸 Take Photo Cargo
Use this option to take and upload photos of the cargo itself to ensure everything is loaded properly.
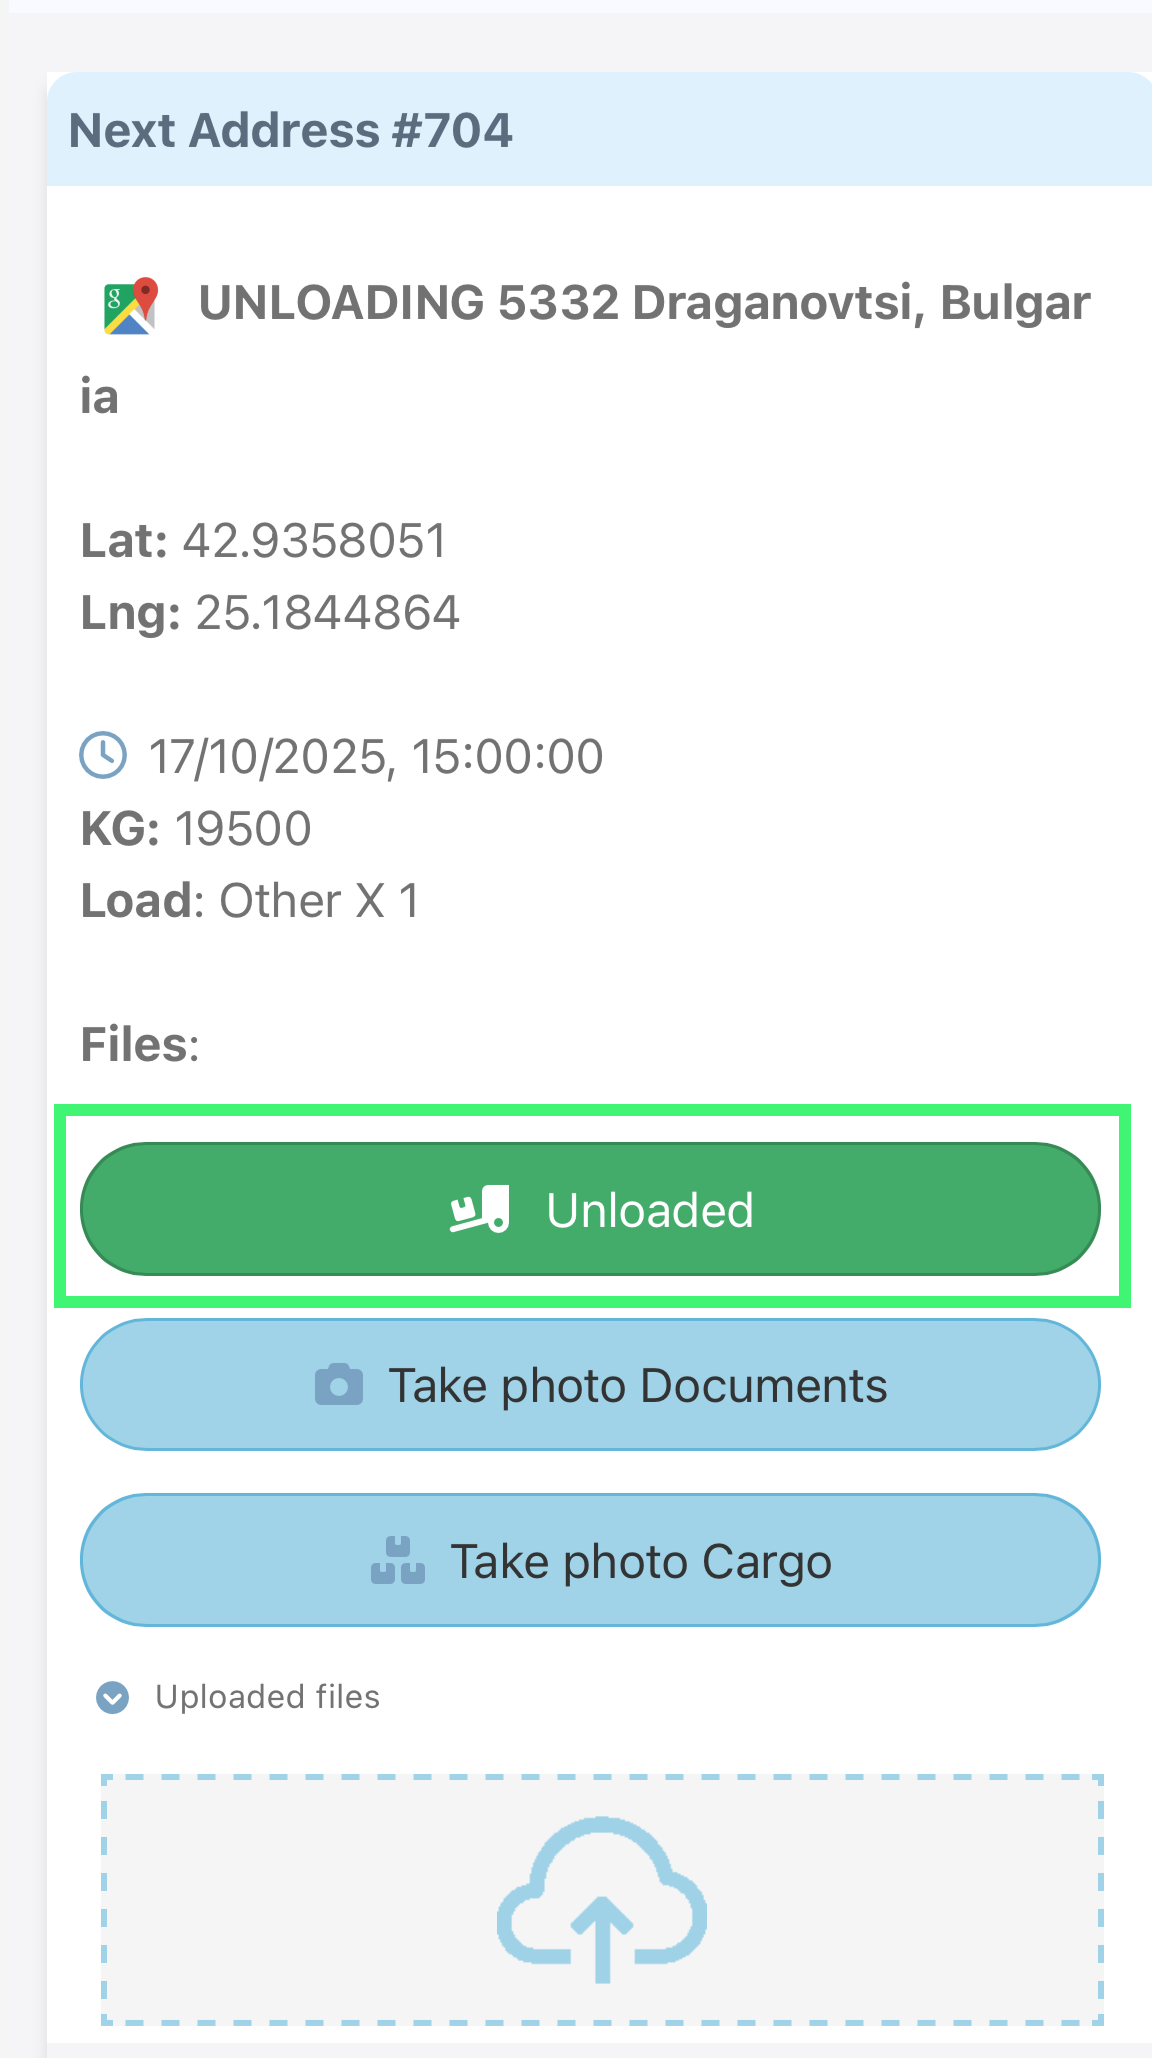
✅ Mark Truck Unloaded or Loaded
The button status depends on the location: if the truck is at a loading address, the button will show Loaded, and if it is at an unloading address, it will show Unloaded. Pressing the button will record the corresponding action in the system and update the truck’s status.
📝 Program and Incident Buttons
The interface contains two main buttons as shown in the image below:
Show Program: Click this button to view the planned schedule or program for the assigned route or deliveries.
Report Incident: Click this button to report any unexpected issues, such as delays or accidents.
