Shell: Shell offers API integration for clients to automate expense generation. The system retrieves information daily from the API and automatically processes expenses. To enable this functionality, clients must provide three parameters to Shell.
- Shell API key
- Shell Payer number
- Shell Authentication secret
DKV: DKV provides expense data in CSV files. Utilizing the "DKV File Import" module, users can seamlessly import these CSV files. Upon import, the system automatically generates expense records within the Expenses module and simultaneously logs all relevant information within the "DKV File Processing" module.
Petromiralles: Petromiralles provides expense data in XLS files. Through the "Petromiralles File Import" module, users can effortlessly import these XLS files. Upon import, expenses are automatically recorded in the Expenses module while comprehensive details are logged within the "Petromiralles File Processing" module.
Other: For other cases, import XLSX files directly into the Expenses module.
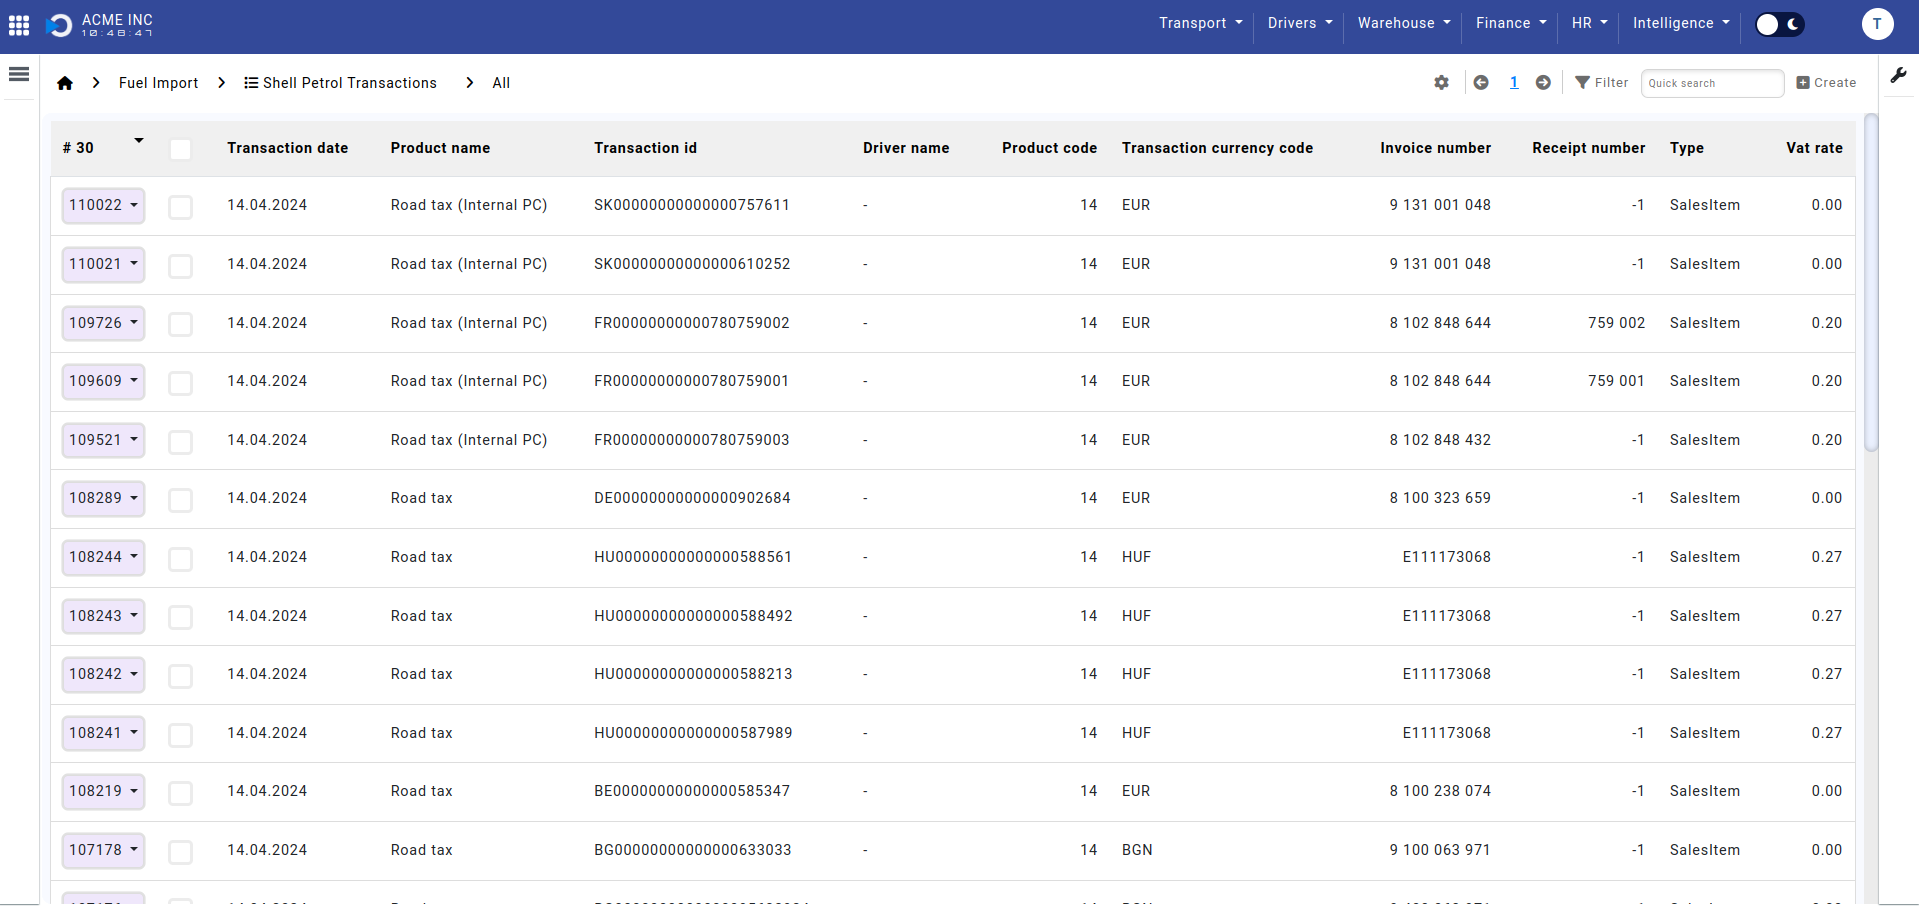
Step 1: Daily API calls are initiated to fetch expense information from Shell. The retrieved data is then stored in the 'Shell Petrol Transactions' module. Subsequently, expenses are automatically generated and recorded in the 'Expenses' module.
To import DKV CSV file follow these steps:
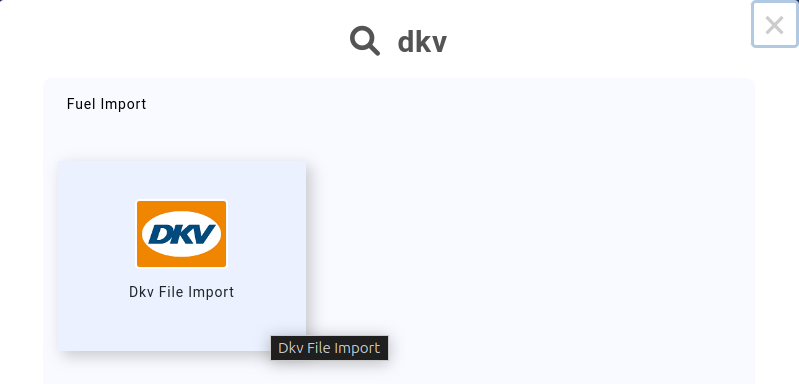
Step 1: Navigate to module "DKV File Import": In the quick search type "DKV File Import".
Step 2: Create a new record: Click on create button.
Step 3: Upload Your CSV File: In the attachments section, click the cloud icon to upload. Select your DKV CSV file from your device.

Step 4: Complete the Import: After uploading your CSV file, click the "Add" button to confirm the import. Expenses appear in "Expenses" and rows in "DKV File Processing".
To import Petromiralles XLS file follow these steps:
Step 1: Navigate to module "Petromiralles File Import": In the quick search type "Petromiralles File Import".

Step 2: Create a new record: Click on create button.
Step 3: Upload Your XLS File: In the attachments section, click the cloud icon to upload. Select your Petromiralles XLS file from your device.

Step 4: Complete the Import: After uploading your XLS file, set the date in the "Date" field and click "Add". Expenses appear in "Expenses" and rows in "Petromiralles File Processing".
- Access Expenses module.
- Download XLSX template: Click three bars → "Import XLSX" → "Template".
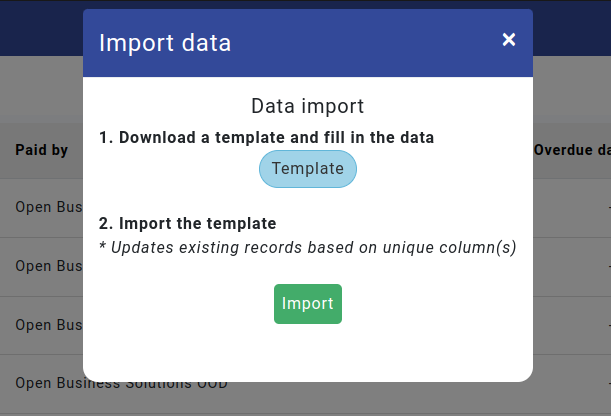
- Complete template: Fill in necessary info.
- Initiate import: Click "Import XLSX" → "Import".
- Upload updated XLSX: System will process automatically.