The Warehouse Transfers module is used to move goods between warehouses. Each transfer document includes details about the issuing company, the source warehouse, the target warehouse, and the reason for the movement.
Below is an overview of the interface layout, followed by a detailed explanation of each section.
Transfers Interface
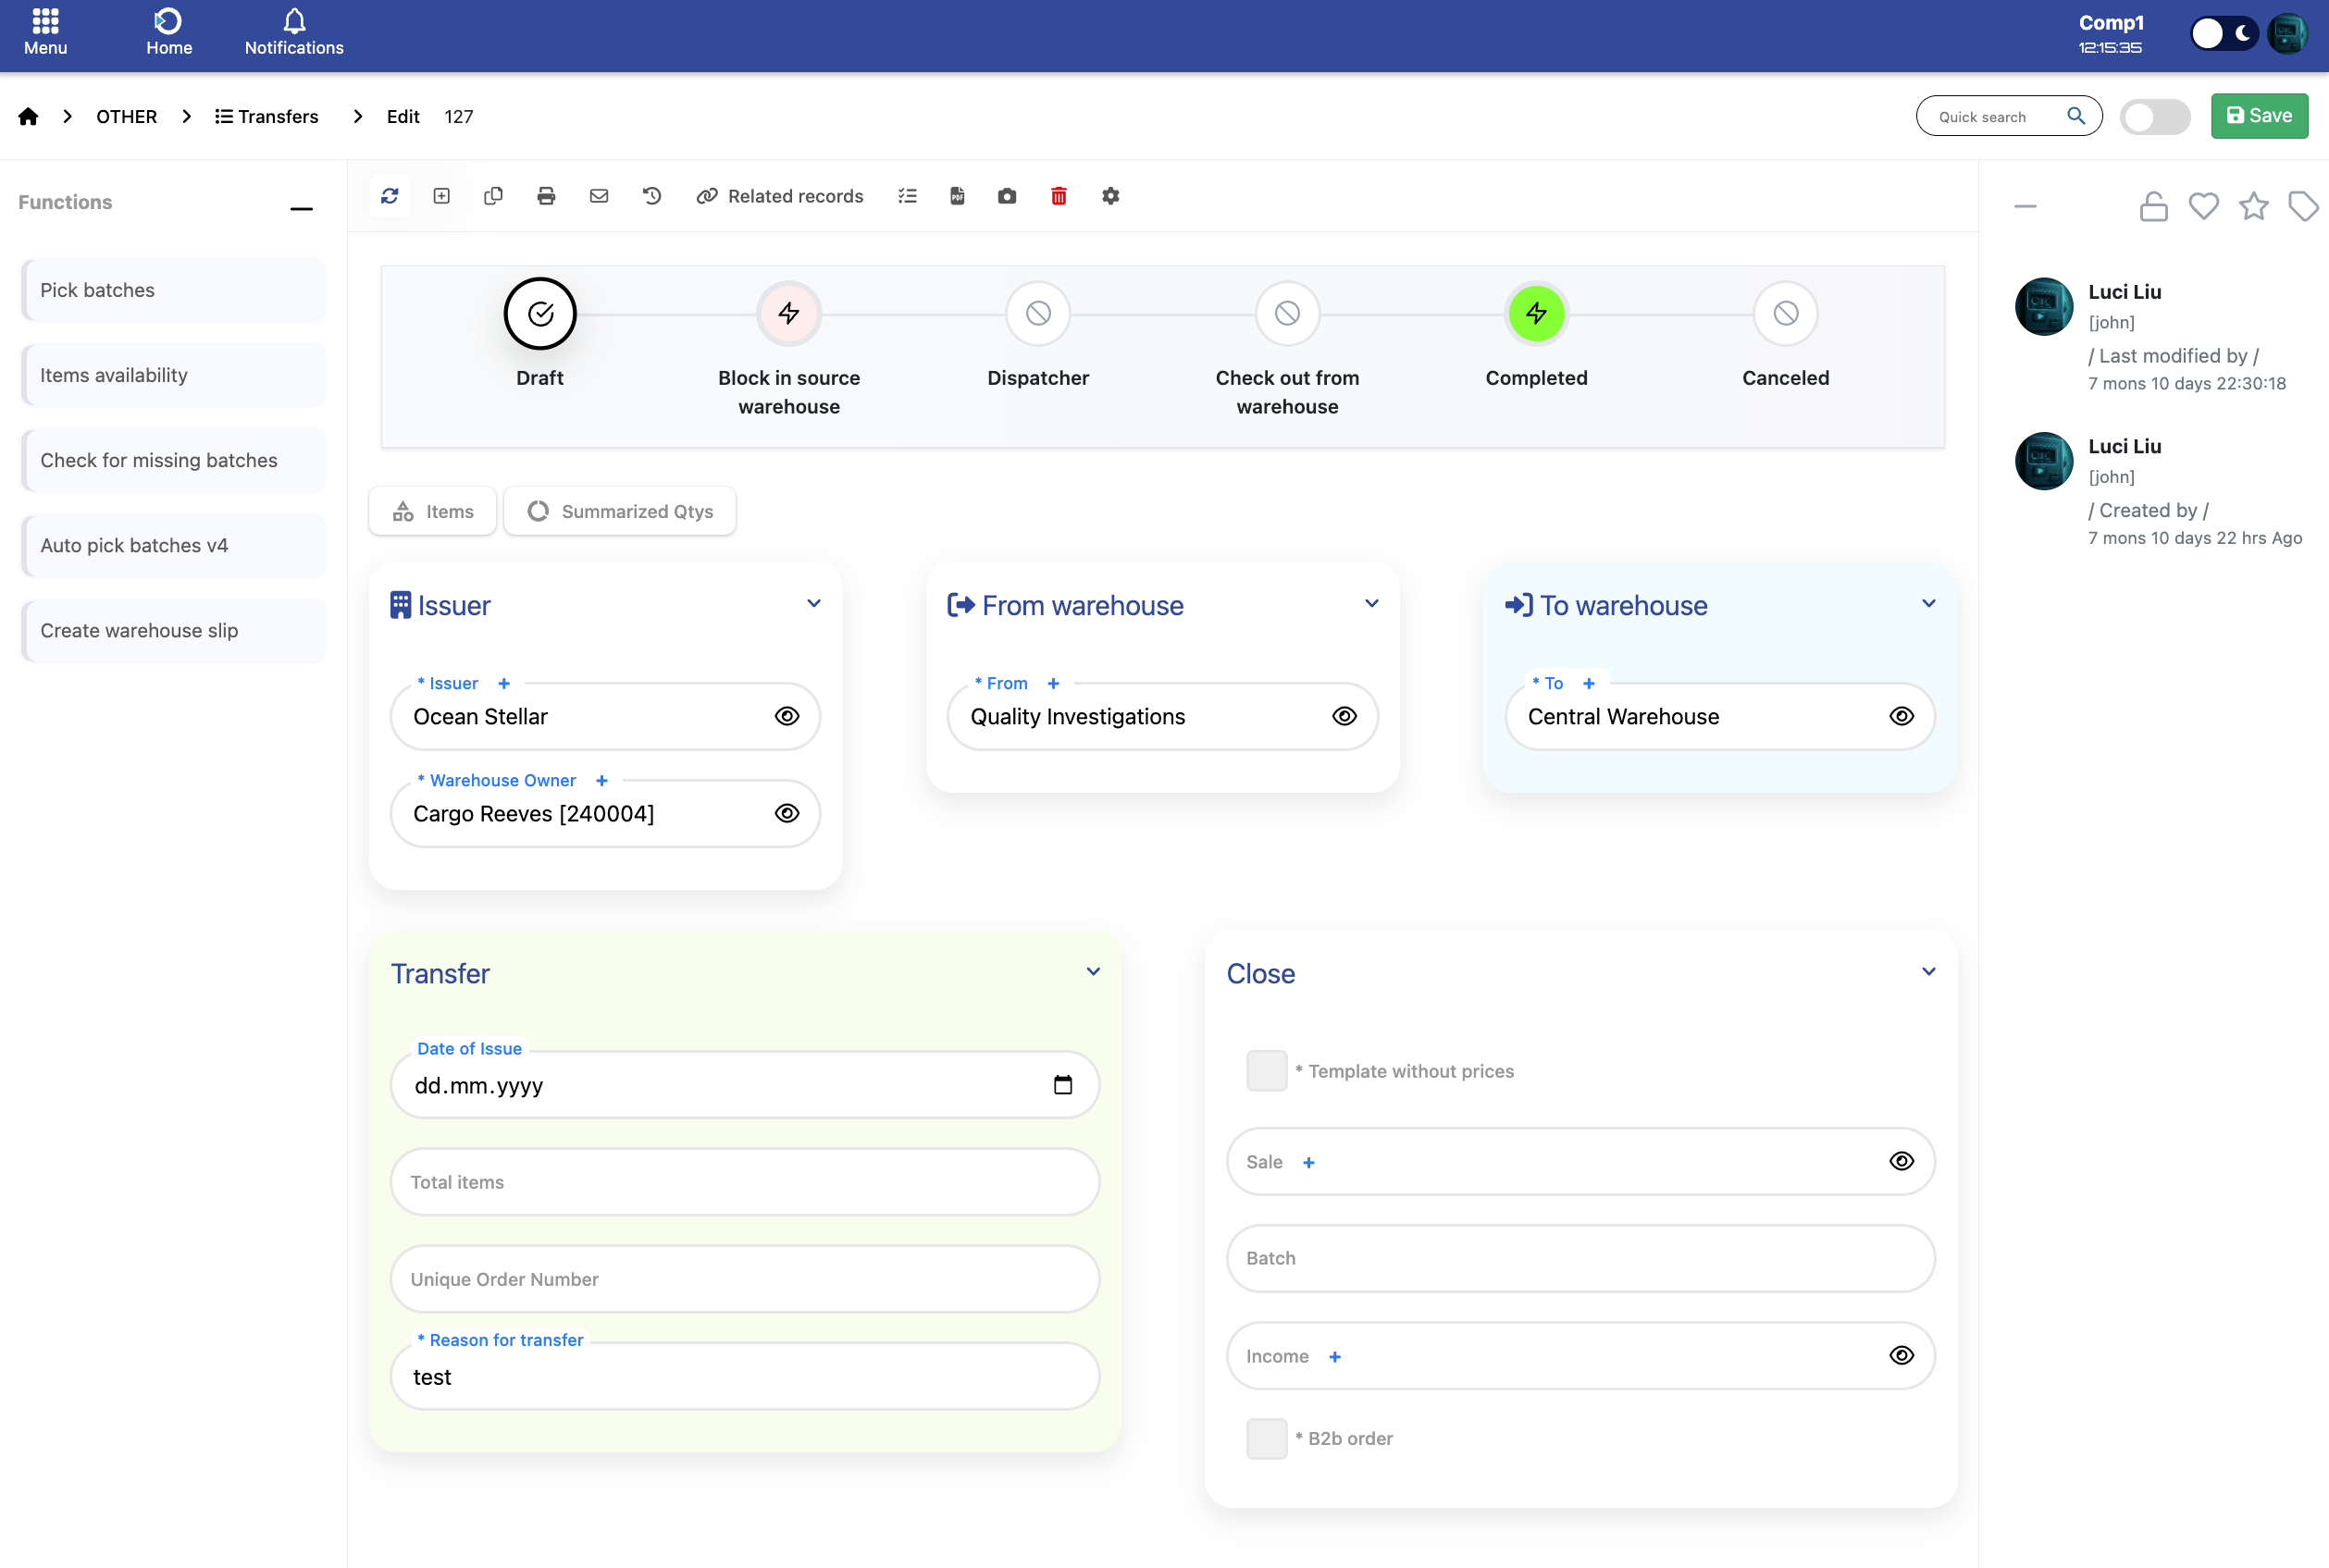
Defines who is creating the transfer document.
- Issuer – Company responsible for initiating the transfer.
- Warehouse Owner – The employee or operator accountable for the goods.
Indicates the warehouse from which the goods are being taken.
- From – The warehouse that issues the goods for transfer.
Specifies the destination where the goods will be received.
- To – The receiving warehouse for the transfer.
General information related to the transfer operation.
- Date of Issue – The date the transfer is created.
- Total items – Shows how many items are included in the transfer.
- Unique Order Number – Optional reference number for the transfer.
- Reason for transfer – Explanation or justification for the movement.
Fields related to closing the transfer document.
- Template without prices – Creates a printout without pricing.
- Sale – Links the transfer to a sale document (if applicable).
- Batch – Batch connection for transferred goods.
- Income – Used when a transfer generates income.
- B2B order – Marks the transfer as part of a B2B transaction.
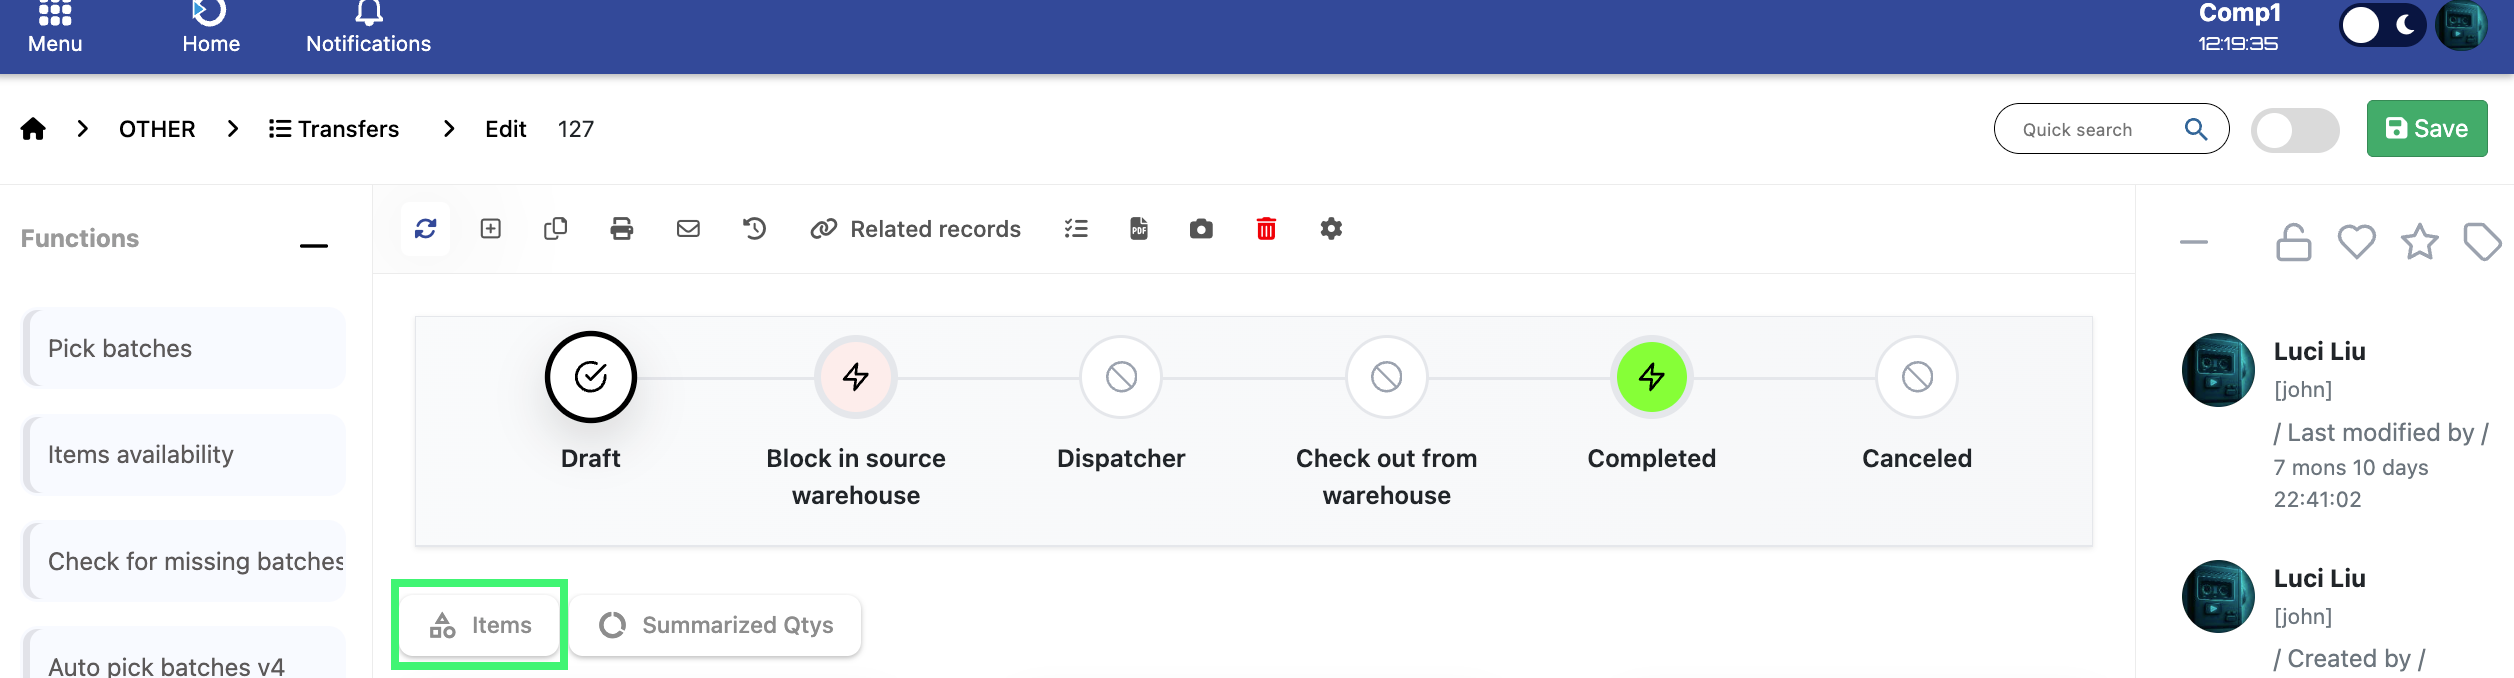
To view or add the items included in the transfer, click the Items button shown in the screenshot below.
When adding an item to the Transfer document, the following fields must be completed.
- Product – The product being transferred.
- Material – Material reference, if materials are tracked separately.
- Batch number – The batch or lot number of the product.
- Quantity – Number of units included in the transfer.
- Code – Internal or system product code.
- Ean – Barcode associated with the item.
- Webshop order – Related webshop order number, if applicable.
- Web order item id – Identifier for a specific webshop order item.
- Original ean – Original product barcode.
After filling in the required details, click Add to include the item in the transfer.
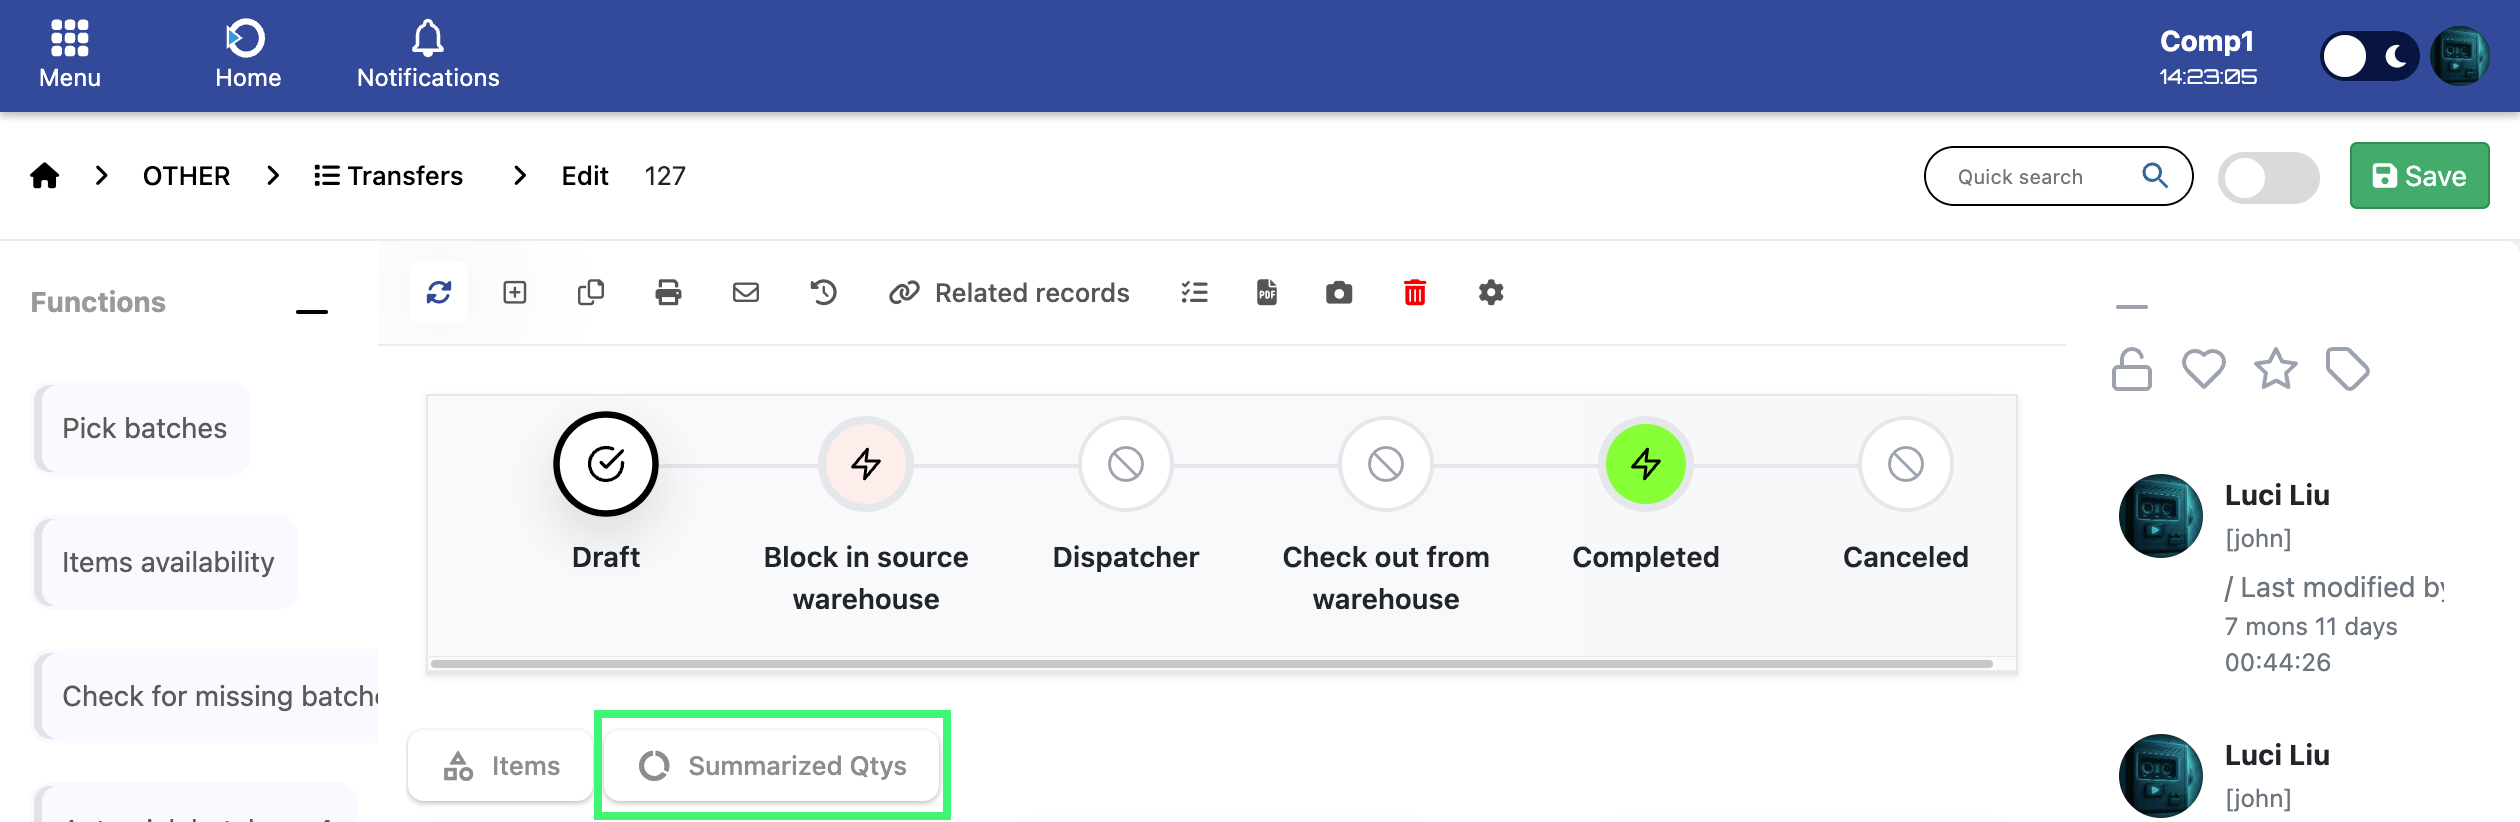
To view summarized item quantities for the transfer, click the Summarized Qtys button shown below.
When adding a summarized quantity entry, the following fields are available:
- Product – The product being summarized.
- Material – Material reference when applicable.
- Quantity – Total quantity being summarized for this product.
- Ean – The barcode identifier for the product.
After the fields are filled, click Add to save the summarized quantity.
These functions provide quick access to key transfer-related operations.
- Pick batches – Opens the batch selection interface for the items in the transfer.
- Items availability – Displays available quantities for each item in the warehouses.
- Check for missing batches – Identifies items without assigned batches.
- Auto pick batches v4 – Automatically assigns batches based on availability.
- Create warehouse slip – Generates a warehouse slip from the current transfer.
The transfer lifecycle defines the steps through which a transfer document progresses. Depending on whether the transfer is outgoing or incoming, the required steps differ.
- Draft – Initial stage where the transfer is created.
- Block in source warehouse – Items are reserved in the source warehouse.
- Dispatcher – Preparation stage before goods are sent out.
- Check out from warehouse – Goods physically leave the warehouse.
- Completed – Transfer is successfully processed.
- Canceled – Transfer is invalidated.